Let’s see what has changed in the Deployment process.
We’re starting with the vCenter Setup.
Requirements
as always, preparing vCenter should come with the following preparations:
- Hostname
- IP-Adress
- DNS-Server
- NTP-Server
- Portgroup to use
- A-Records and PTR-Records for the FQDN of the vcenter appliance
- Yes, there exists the ip-only vcenter installation, but i’m quite not happy with that and a DNS Server is easy and fast to setup.
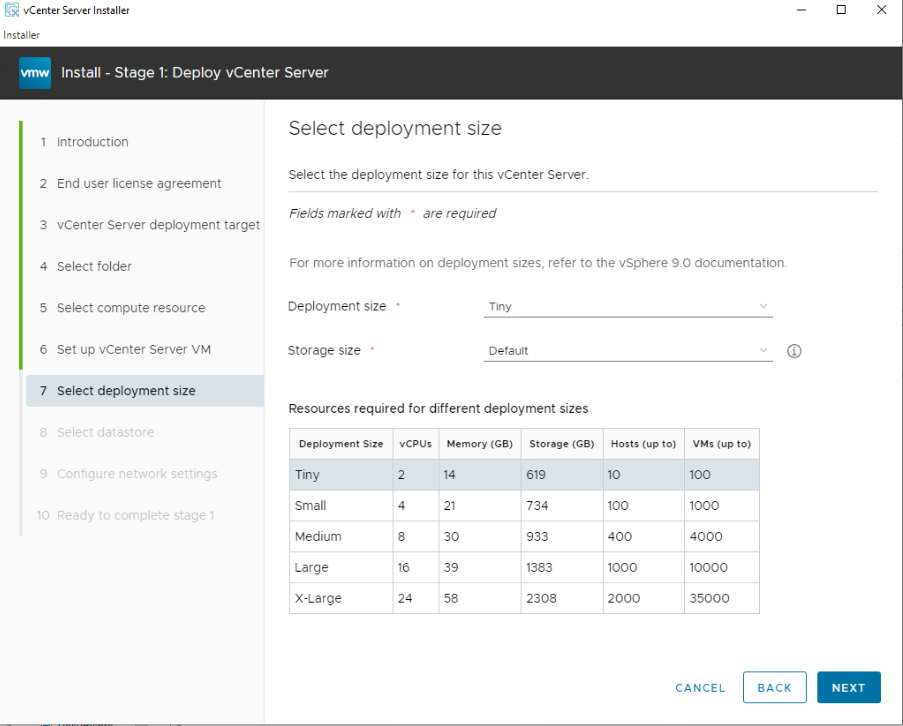
Typcally the GUI-installer is still there but the color changed a little bit 🙂
T-shirt sizes for the deployments are still the same
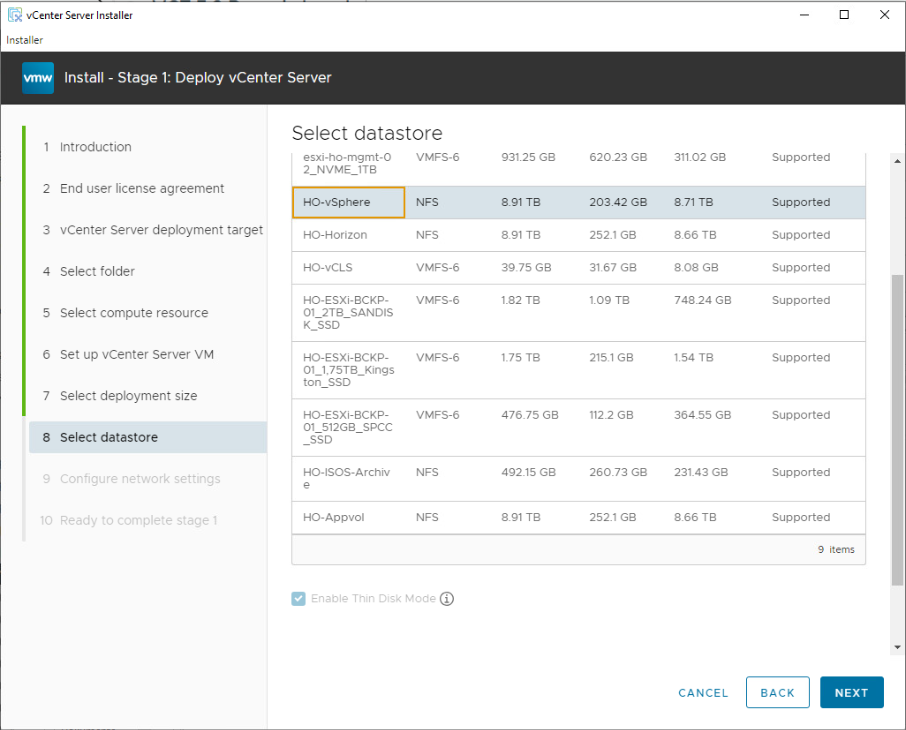
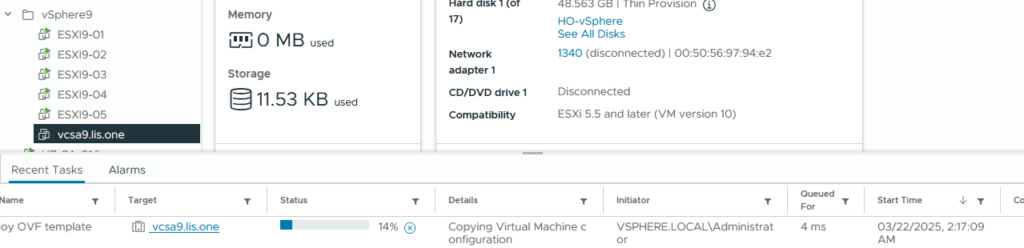
Selection of Datastores in my Homelab but in the end i gonna deploy it on my Synology NFS Datastore in Thin Disk Mode.
IP, Adress, DNS, NTP are set at “Configure network settings” and then it starts 🙂
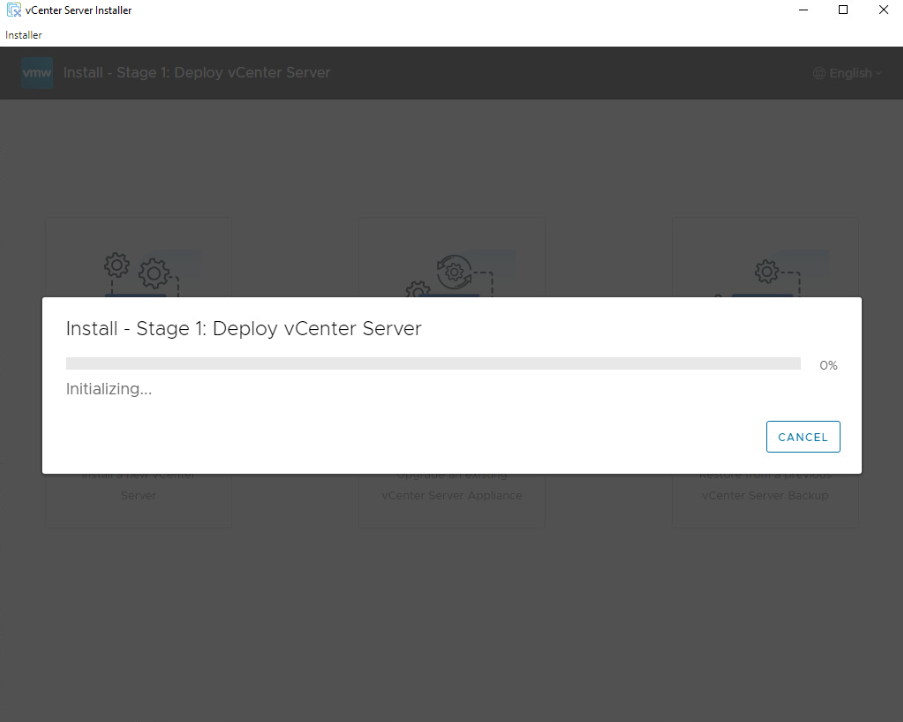
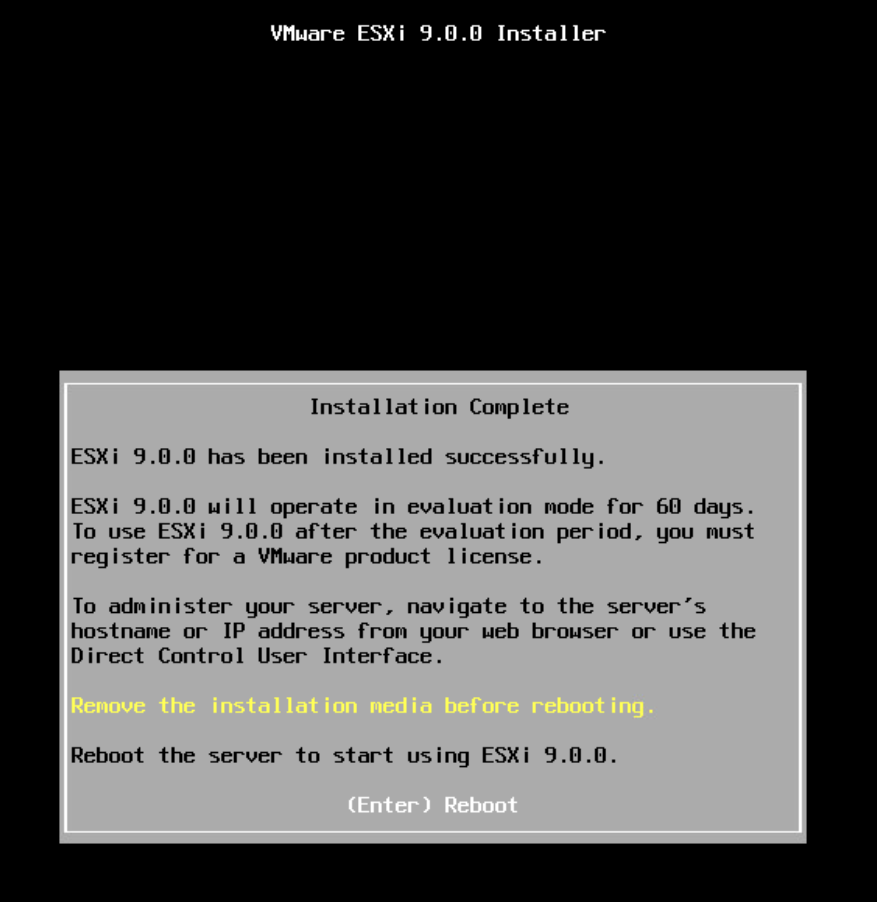
This will take a few minutes, so it makes sense to look if the nested ESXi-Hosts are ready
meanwhile the nested ESXi9-VMs are up and running aswell 🙂
With a little bit of waiting the vCenter starts and the RPM installation begins

Uhh, containers? Gonna need to dig deeper into that…
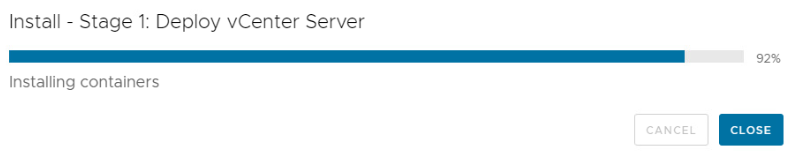
After a while the Stage 1 Setup is done.
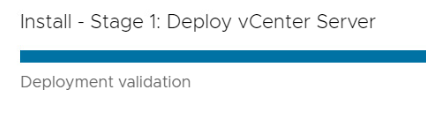
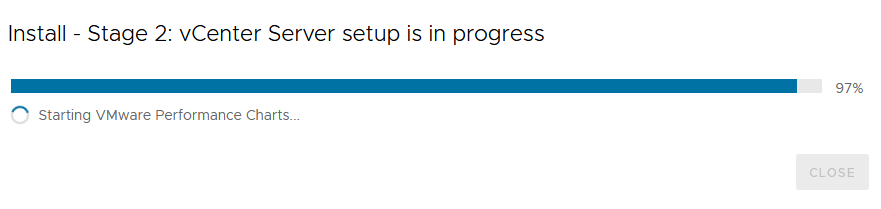
Now up to stage 2 of the vCenter Setup:
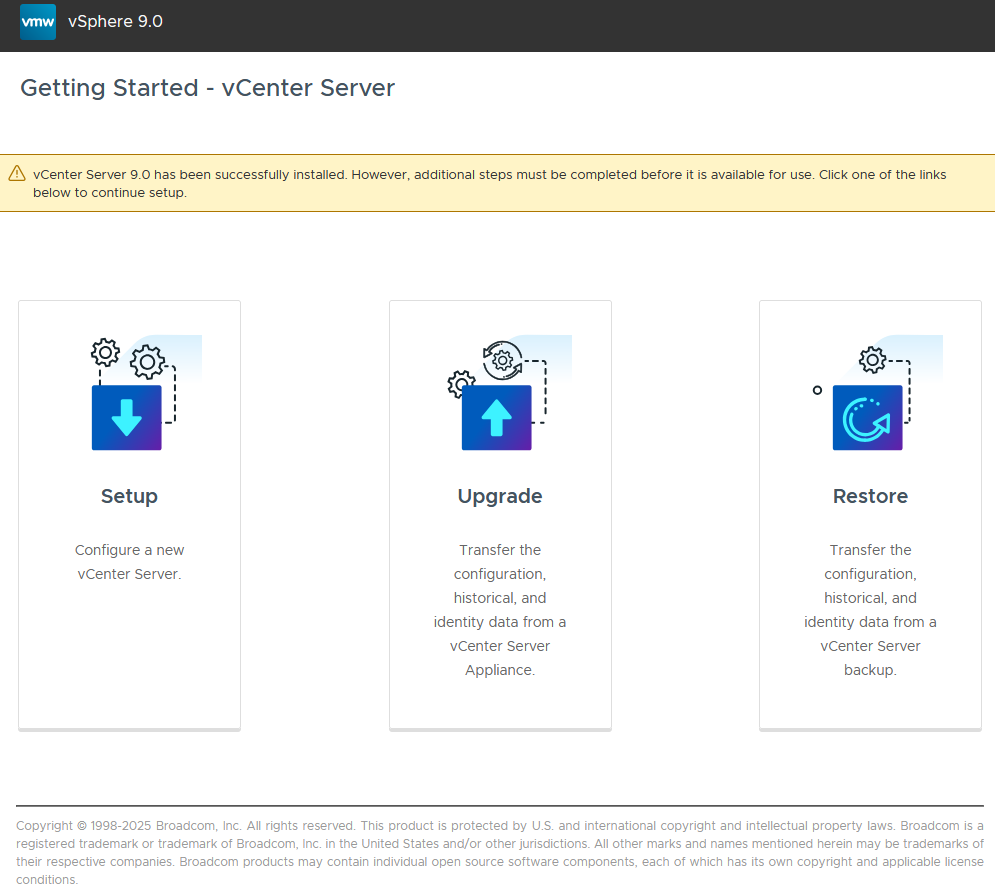
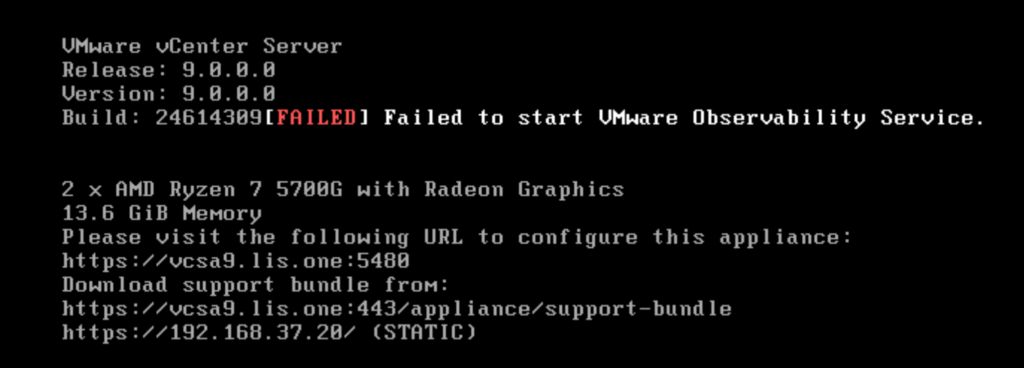
We will start with the Setup, check the IP-adress, enable NTP and SSH and wait till the services are configured and started to finally see the vcenter Start page.
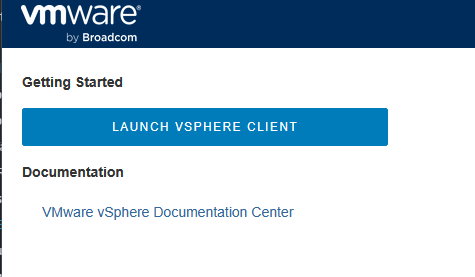
or rather the real login-page 🙂

Thats it?
yes really, nothing fancy apart from seeing some interesting little hints at the installation/deployment.
In the next post i will share some screenshots of the new vcenter. It definitely will make sense to atleast setup a nested environment to get a good feel for some new features.